Monogrammed Towels + Kid’s Shared Bathroom
This post may contain affiliate links. Read our disclosure policy.
Give your kid’s bathroom a much-needed refresh with some simple monogrammed towels and updated bathroom decor.
This Monogrammed Towel Idea is sponsored by Cricut. I’ll show you how to use the Cricut Joy and my favorite Smart Materials™ to update a kid’s shared bathroom!
With my oldest son leaving for college last month, we did a little “room swap” and shuffled the kids around a bit. Mason and Addie are now sharing the bathroom between their rooms, and needless to say, Mason was NOT a fan of the ruffled shower curtain and gold accessories that use to occupy the space!
The bathroom was definitely in need of an update, so I set out to achieve a more unisex look that all 3 of us would love! Here is how it looks now –
Kid’s Bathroom Update
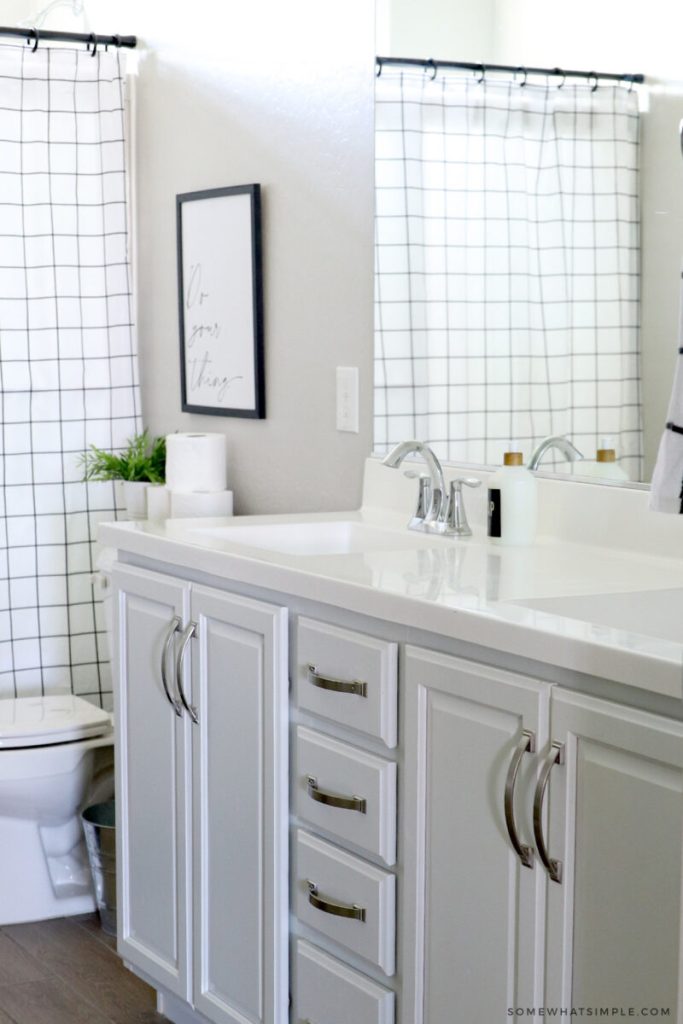
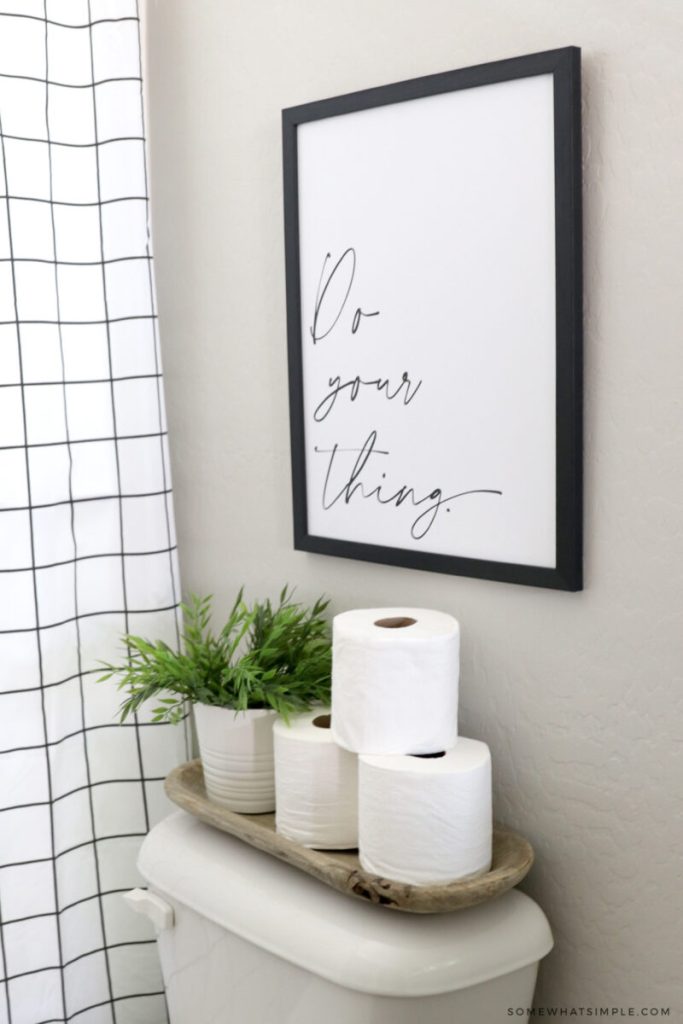
The white ruffled shower curtain was replaced by a black and white grid pattern that pretty much set the stage for the rest of the room. Light grays were replaced with bold blacks and whites and warm wood tones were used in several accessories.
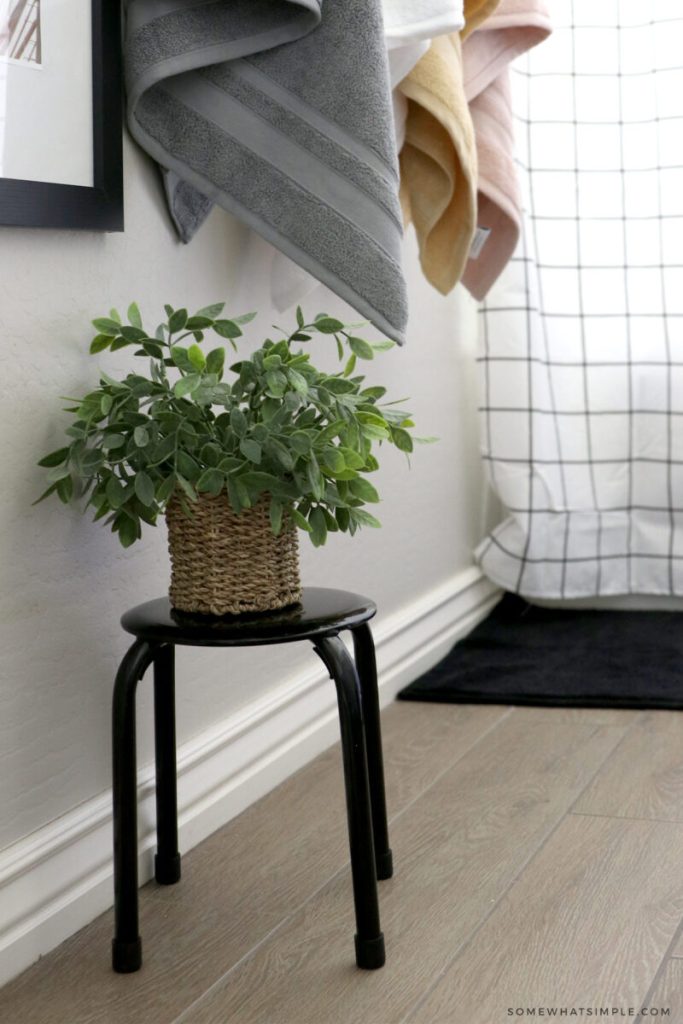
I kept everything nice and simple. Less “stuff” means less to wipe off and clean… which is definitely helpful in a kid’s bathroom, don’t you think?!
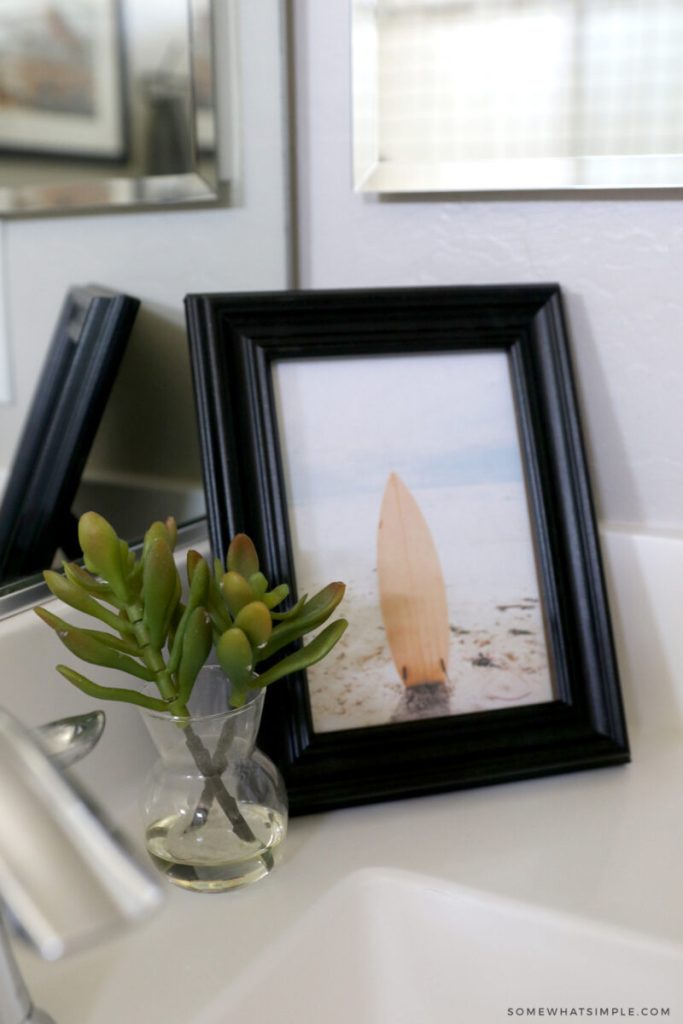
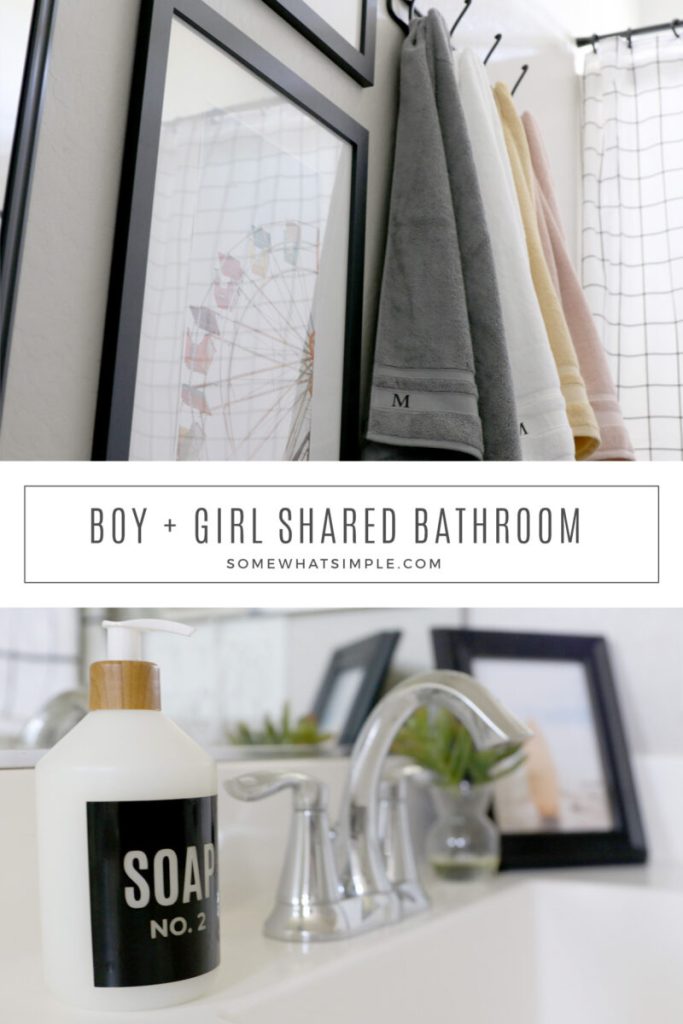
I narrowed down some photography options and then let the kids each chose a piece of artwork to be framed. Mason chose a vintage yellow VW Bus, and Addie chose a fun Ferris Wheel print that matches so perfectly!
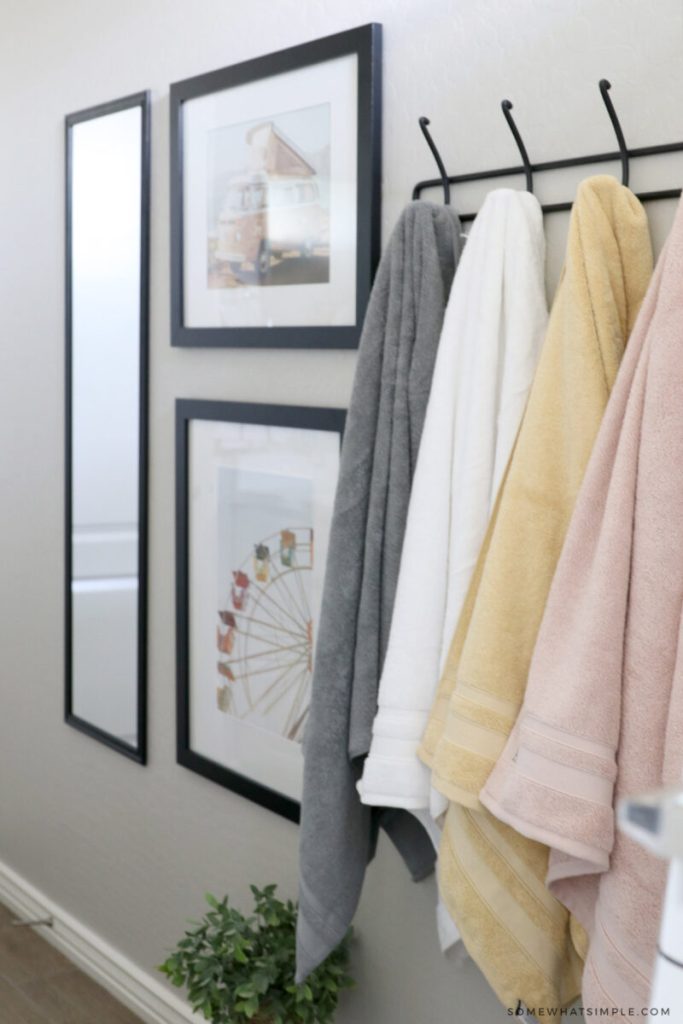
I love the colorful vibe these photos added to this space!
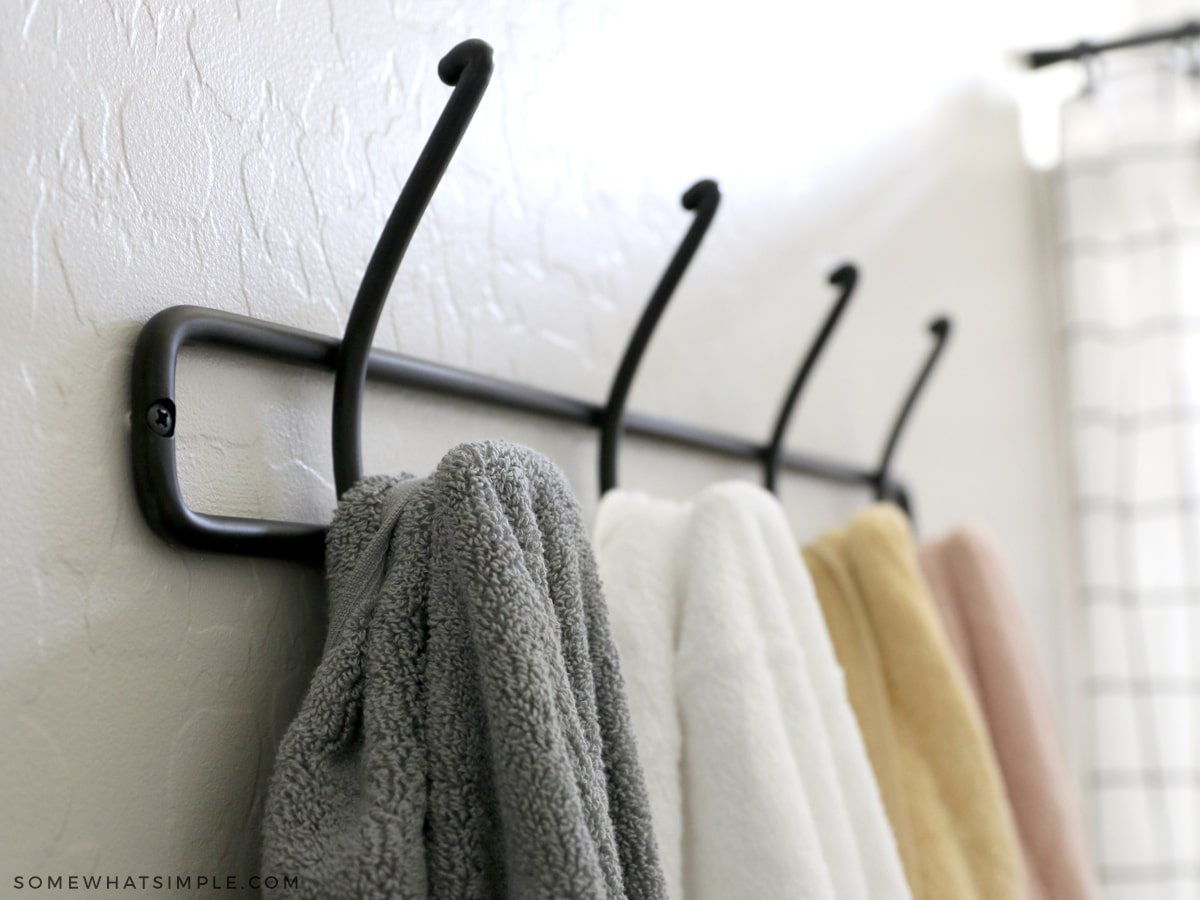
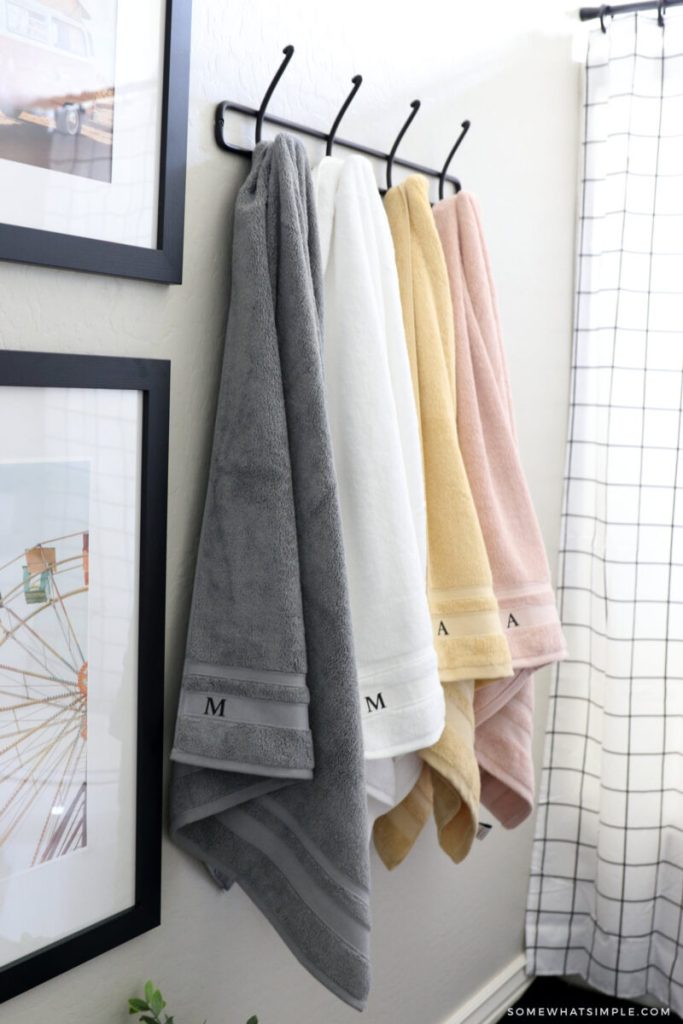
Letting the kids each choose 2 towels was a decision I could have come to regret, but this ended up being my favorite spot in the entire room! How pretty are those colorful, fluffy towels hanging from that simple black-iron towel rack? It’s better than I even expected!
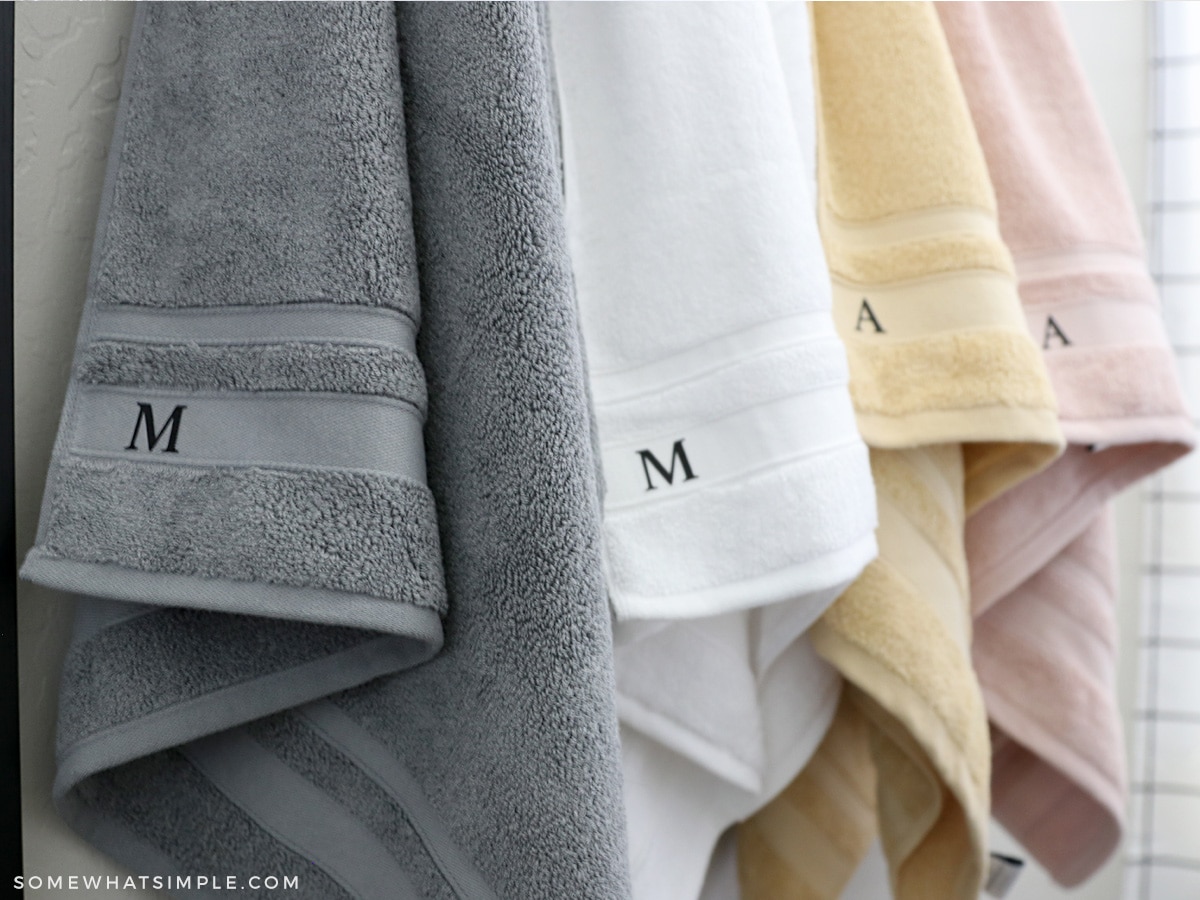
As an extra little detail, I added a simple monogram initial to each of their towels. This project took about 10 minutes to complete and it completely elevated the space to look more custom. Here’s how I did it –
DIY Monogrammed Towels
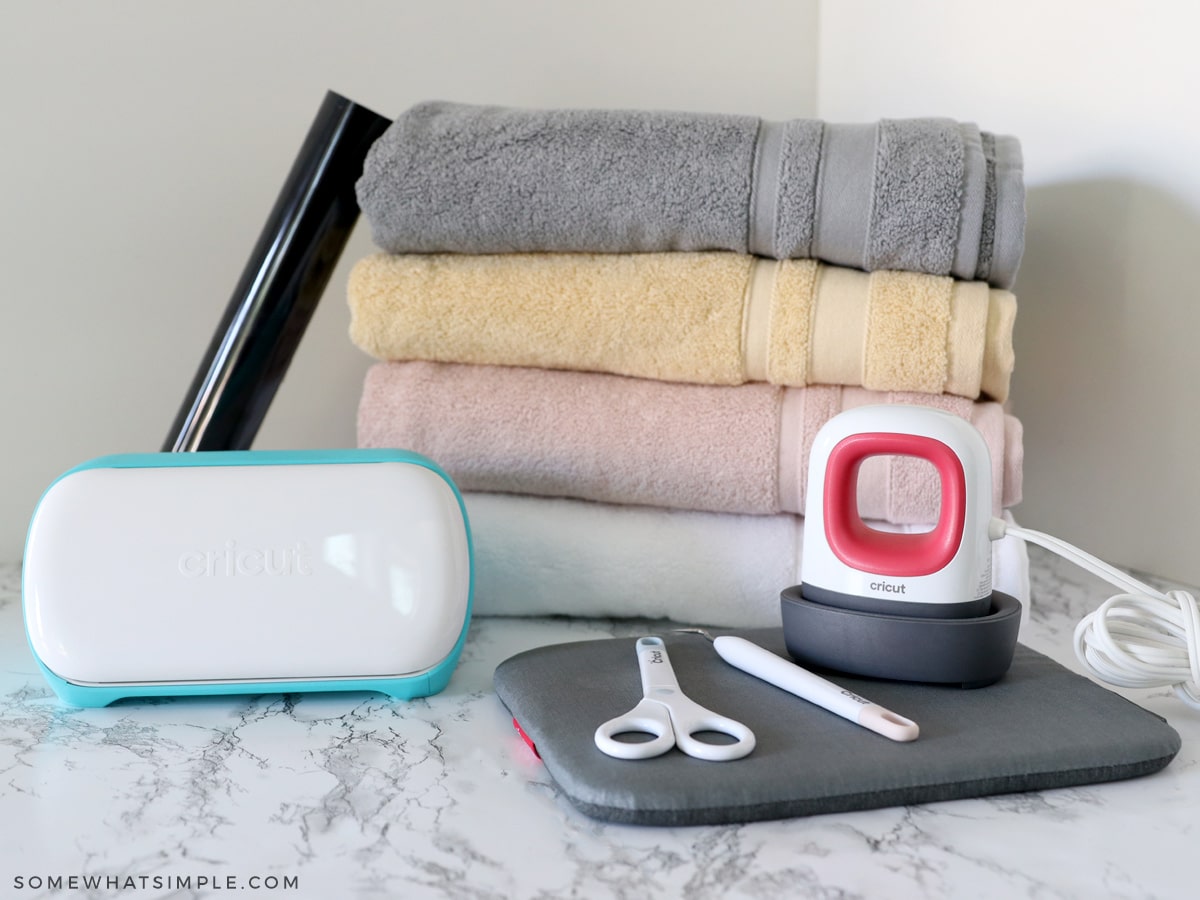
YOU WILL NEED –
- Cricut Cutting Machine – I used my Cricut Joy
- Smart Iron-On – I used black
- EasyPress Mini
- towels
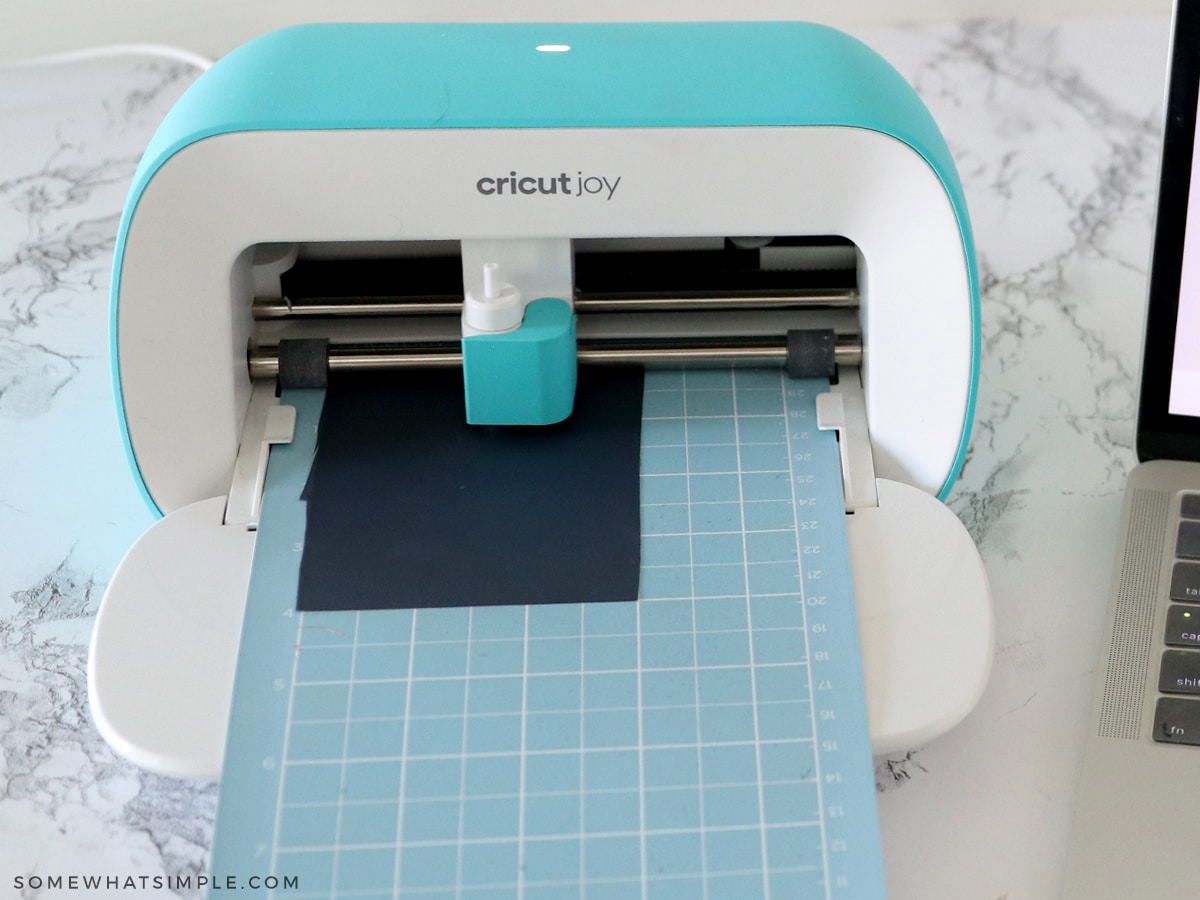
DIRECTIONS –
Design – Start by designing your monogram in Design Space and then cutting it out with your machine. I used a scrap piece of iron on to cut all 4 letters.
Cut out and weed each monogram.
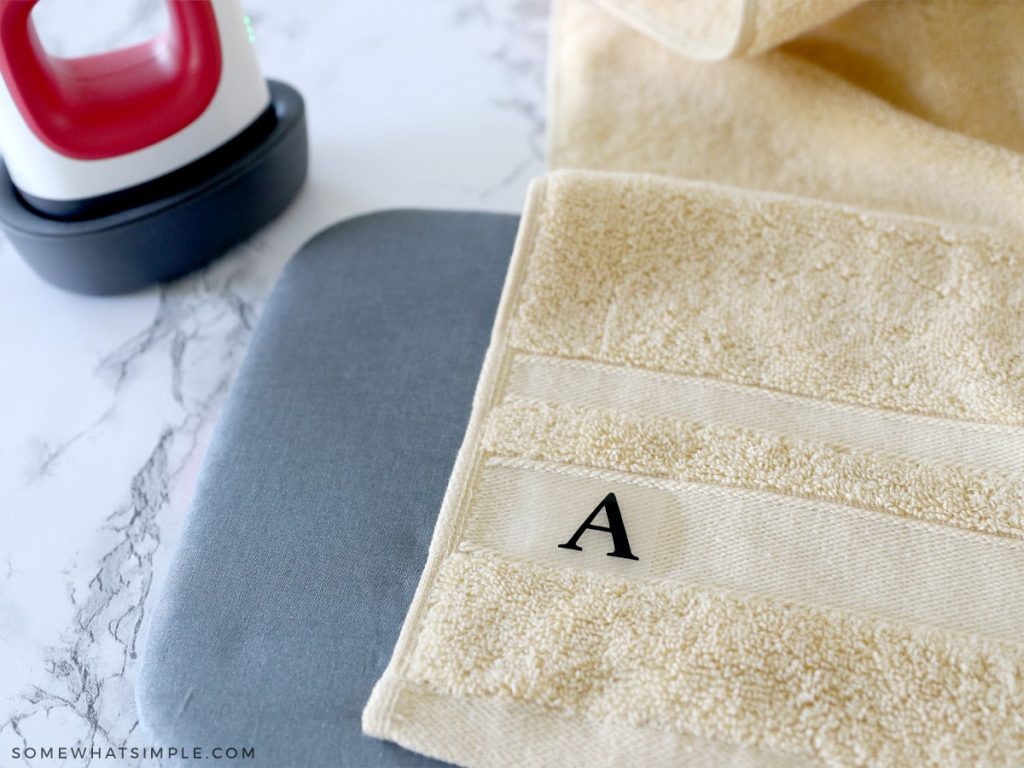
Iron – Place your monogram on the towel in the location of your choosing. The monogram will take on the texture of whatever background you choose. It will stay flat if you put it on the flat ribbon part of your towel, or it will look fluffy if you put it on the raised part of the towel. Both textures work fine, just keep in mind that it will look a little weird if you have the monogram overlap two different textures.
Hold your EasyPress on the monogram for about a minute.
Let the monogram cool completely before peeling the plastic backing off, otherwise it may pick up the monogram and you’ll have to start all over.
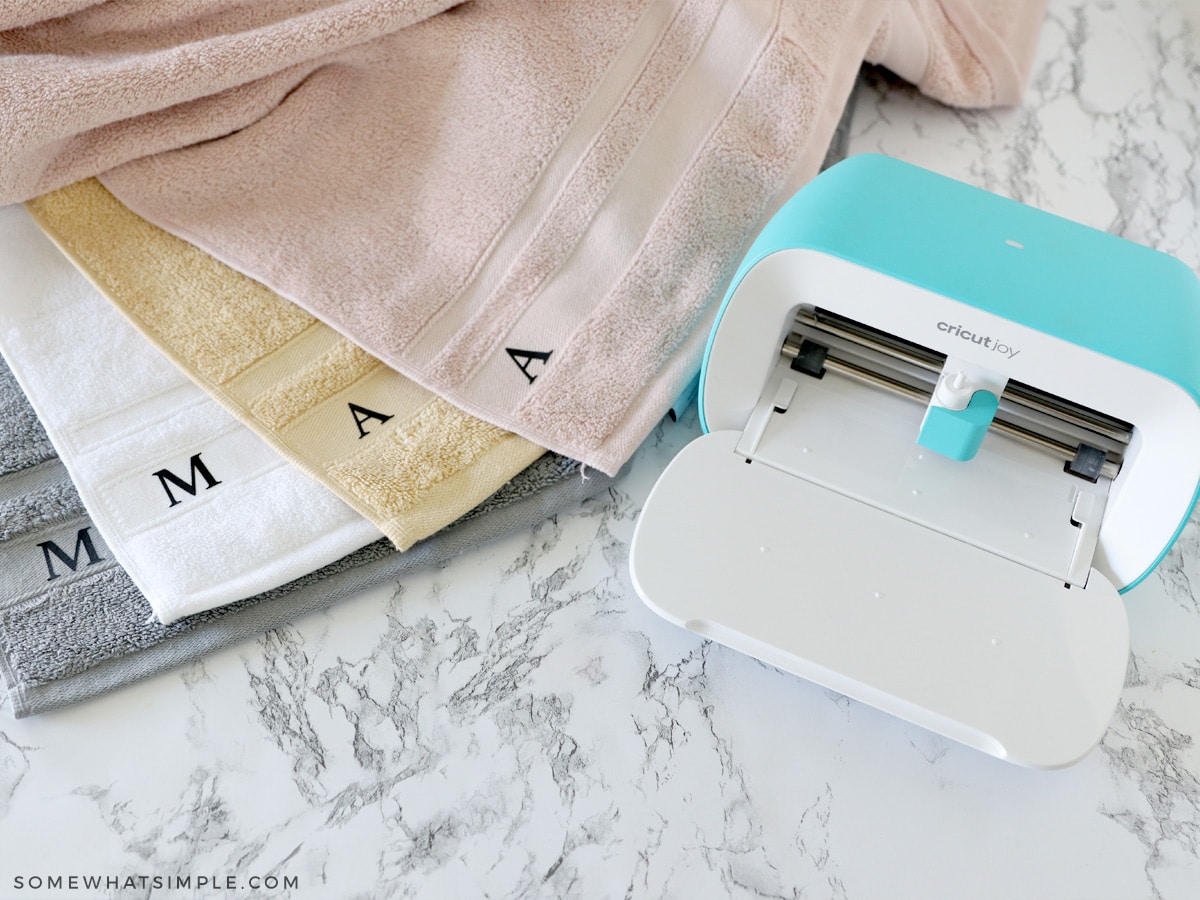
And that’s it! Such an easy project, thanks to my Cricut Joy!
I also used my Cricut Joy to make shampoo, conditioner, and soap labels for this bathroom too! Look at how cool these are –
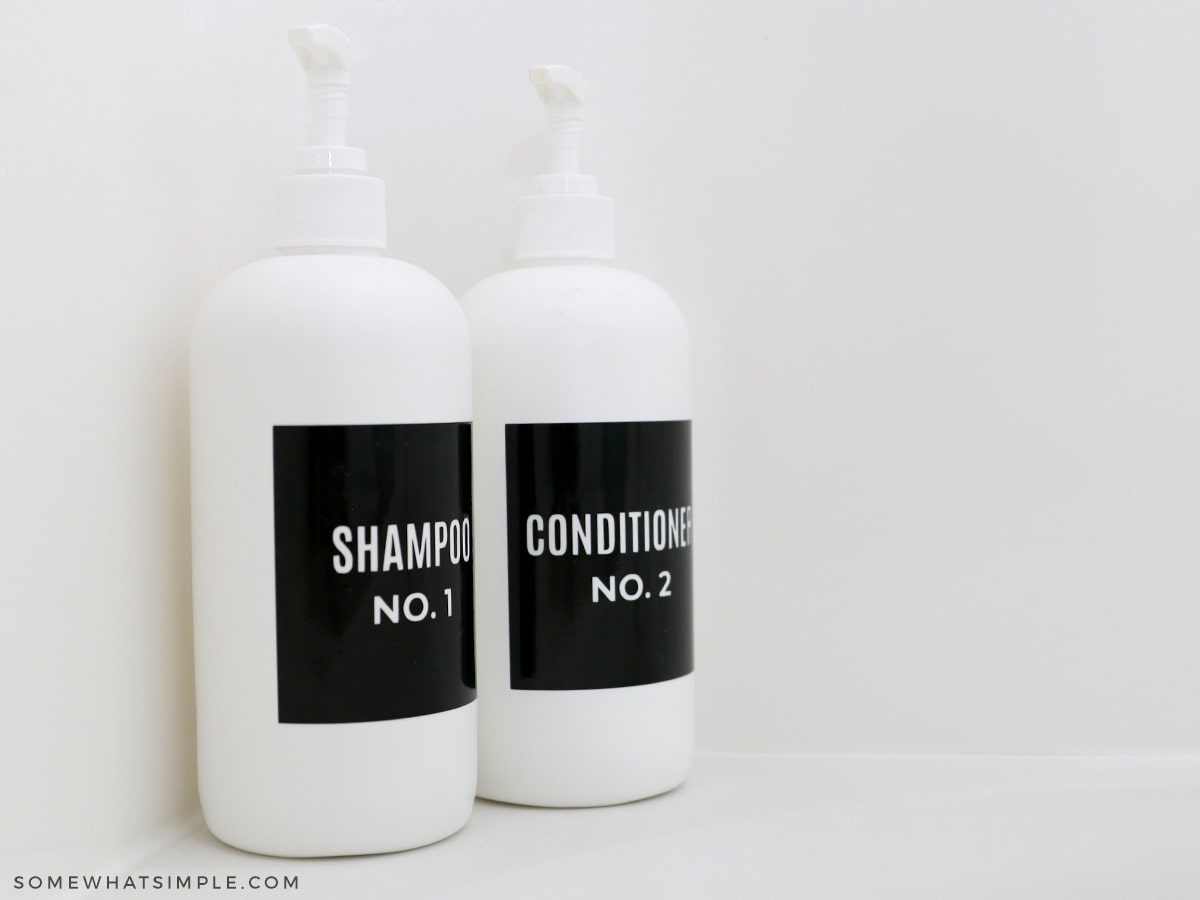
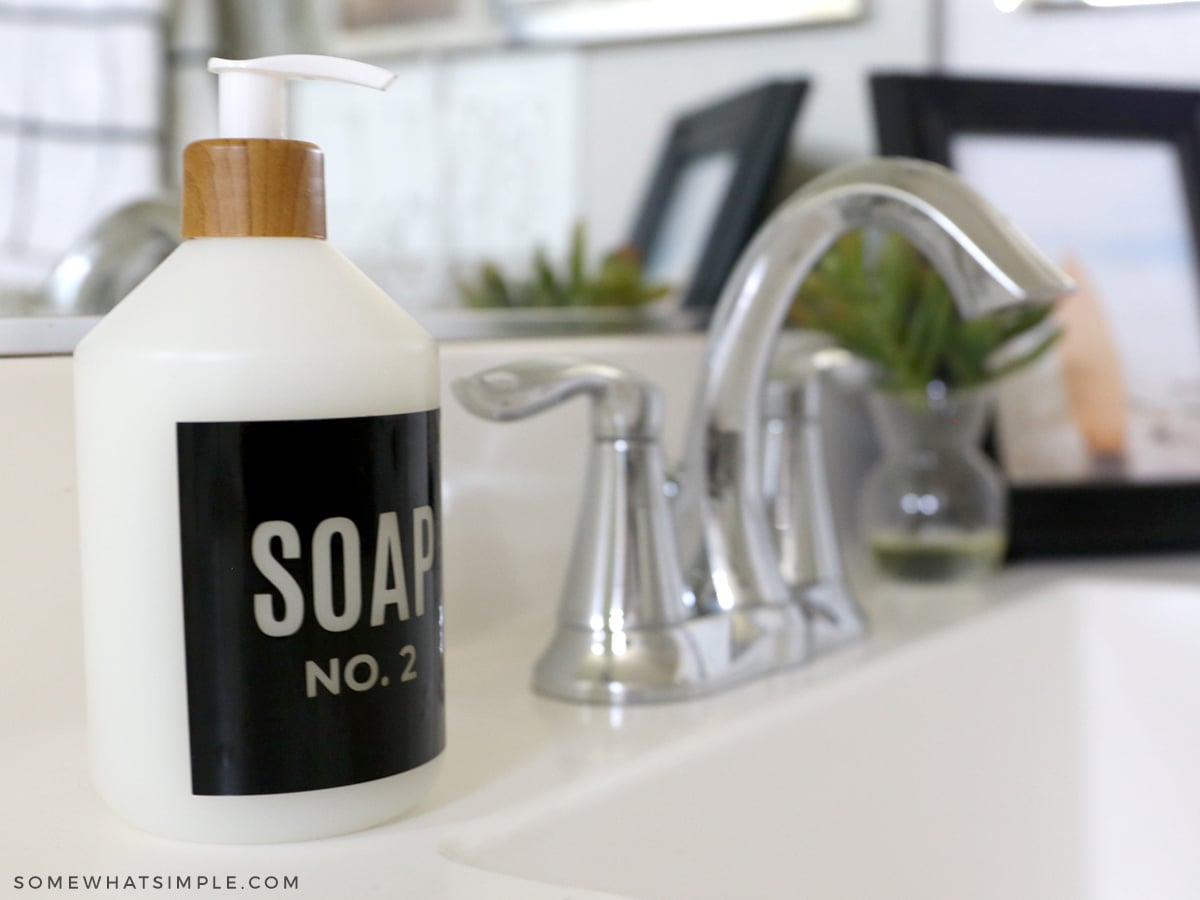
I bought cheap bottles from Target, (they originally had lotion in them) rinsed them out, removed the ugly labels, and I made my own labels with some Smart Permanent Vinyl.
I figured the Permanent Vinyl sticks well on car windows, even when it gets wet, so why not try it with shampoo bottles?! They are holding up perfectly!

…and that’s it! A simple bathroom refresh for under $100! What do you think?
SHOP THIS POST –
- Grid Shower Curtain
- Black Bath Mat
- Towel Rack
- Colorful Bath Towels
- Grid Hand Towels
- Long Wall Mirror
- Plant
- Wood TP Tray
- Do Your Thing Art
- Hand Soap Bottles – $5
Thank you so much for sharing this amazing towel idea! Will surely use this! It’s really easy to make! Highly recommended!
Thanks Allyssa!
Amazing! And so great for holiday gifts!
They would be GREAT holiday gifts!
Cricut machines are so awesome. These monogrammed towels are so cool and the update to the bathroom looks fantastic.
Thanks Matt!
That is really beautiful! I love how it turned out! Thank you for sharing!
Thanks Toni!