How to Organize ANY Space – Fast and Easy
This post may contain affiliate links. Read our disclosure policy.
How to organize your home in 4 steps that will keep you on task and produce awesome results!
Here are a few more quick cleaning tips you might enjoy – Quick Clean Checklist, 2 Week Bedroom Challenge, and Easy Cleaning Cards.

Sometimes organization projects can be simple – like a small kitchen drawer or cupboard – and sometimes they can be daunting – like a garage full of boxes and tools.
So whenever I decide to tackle a space, I simplify the task as much as possible by following these 4 simple steps: Clear, Clean, Sort, and Style!
4 Steps to Organizing- Clear, Clean, Sort and Style
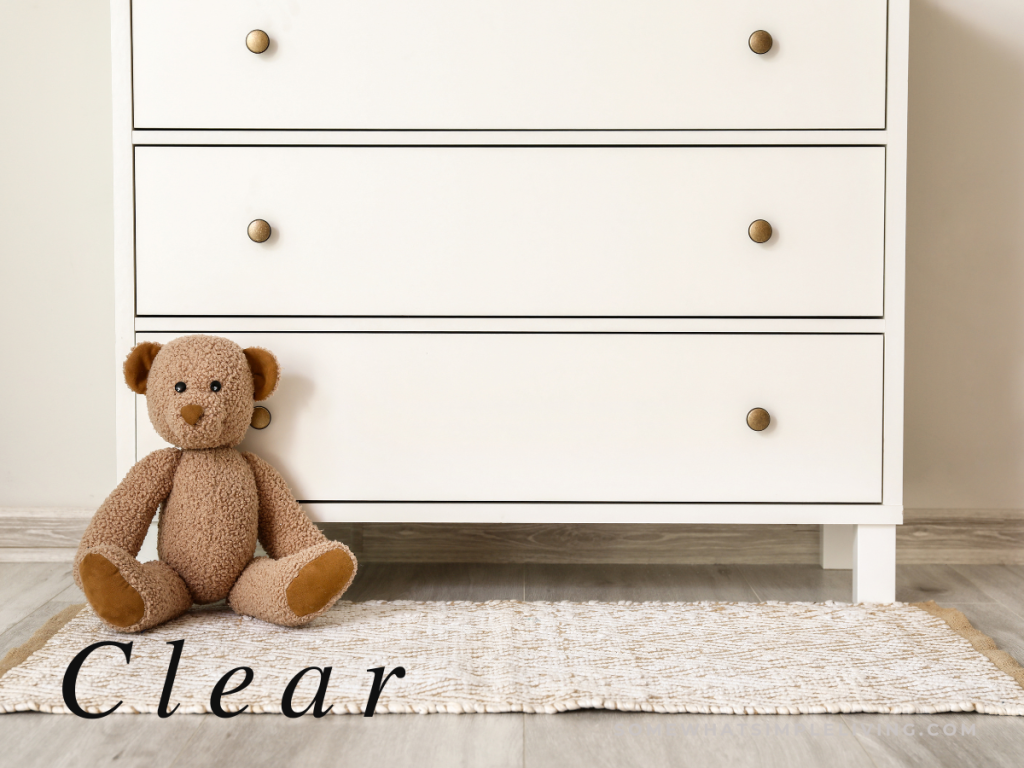
1. Clear it Out
The first thing you need to do is clear the space. Whether it is a tiny cupboard or a huge garage – get everything out. This can be tough, I know, especially when you’re dealing with a bigger area, but it is important to start with an empty space so you can visualize how you want everything to look when you’re finished.
Raise your hand if you’ve ever been motivated to start a project and then you get discouraged or distracted part-way through. You tell yourself you’ll finish it later, so you stuff everything back where it originally was and the space looks worse than it did before you started.
Just me?
Here are a few tips to consider:
- Make time for your projects. The longer you wait to finish them once you’ve started, the less likely you are to finish them.
- Do not pull out more than you can put back in the amount of time you have.
- Set a goal of how much you want to accomplish by a certain time and then work hard to get there. (1 cupboard in 1 hour, the entire garage in 3 days etc.)
- When you have your goal set, pencil it in your calendar and take note of any conflicting tasks. For example, if you know your garage is going to take several days to finish, don’t try to tackle it on a week that is busier than normal. And don’t start it on a Saturday when you know you won’t get to it again for several more weeks.
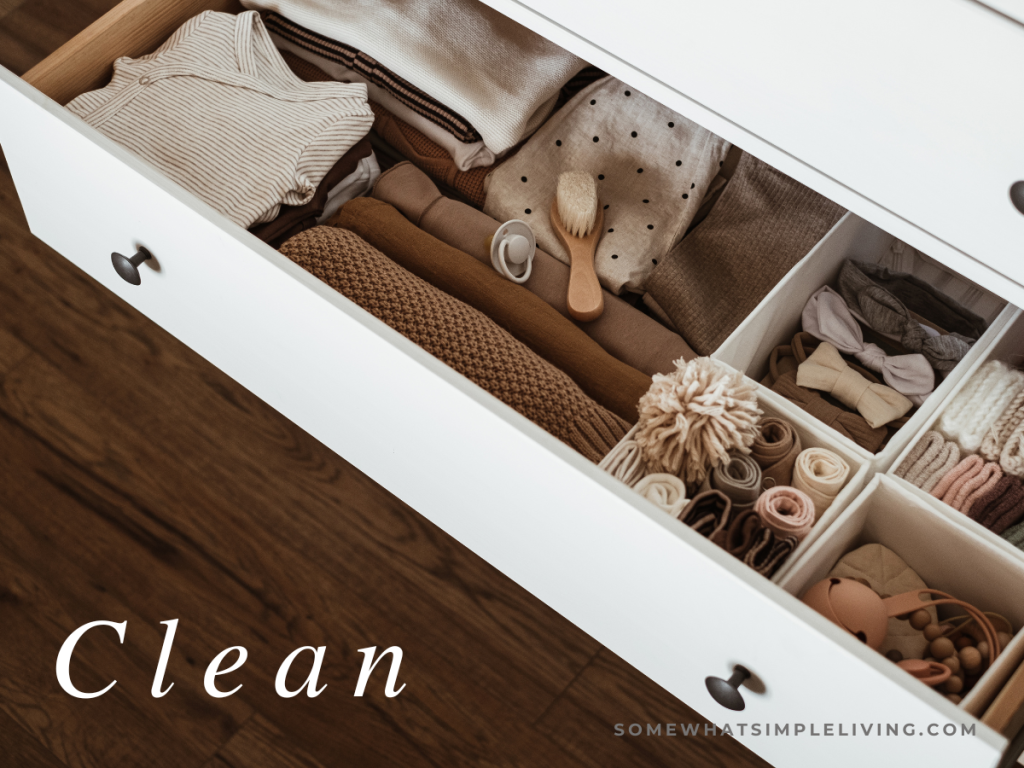
2. Clean it Up
Now that everything is cleared out, it’s time to clean that space. Because let’s be honest, it’s been forever since it was cleaned and you probably won’t get around to cleaning it again for a really long time!
- Wipe down any shelves and surfaces
- Vacuum/ sweep the floor
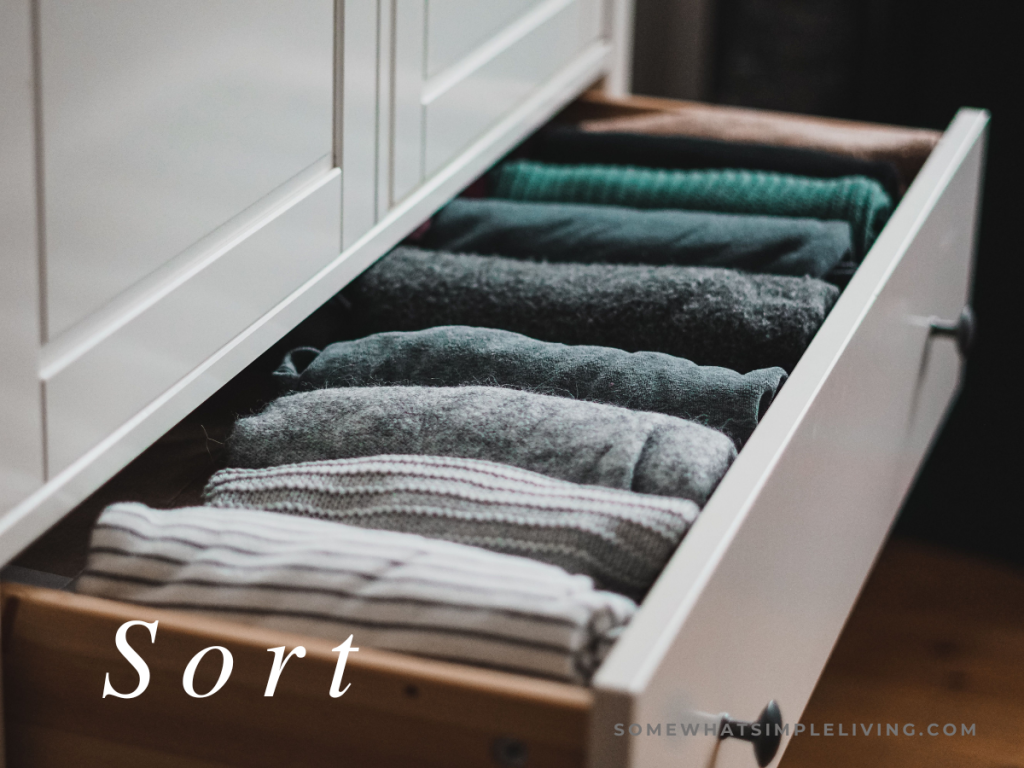
3. Sort Your Stuff
Before you start putting anything back, make 5 piles of all your things: Keep, Put Away, Donate, Fix, & Trash.
- All things in the KEEP pile are what you plan to keep in that space.
- Items in the PUT AWAY pile are things you want to keep, but they do not belong in the space you are currently working on.
- The DONATE pile consists of items that can be used by someone else and can be donated to a shelter, charity, or thrift store.
- Items in the FIX pile consist of clothing that needs to be mended, stains removed, etc. and items that are missing replaceable parts that can be fixed.
- Items in the TRASH pile are things that need to be discarded or recycled.
Once it is sorted…
- Take your KEEP pile and set it aside.
- Take your PUT AWAY pile and put everything in its new home. (Do not let it sit there – put it away right now!) Anything that does not have a home should be added to your DONATE pile.
- Take your DONATE pile and bag or box it up. Put all these items immediately into your car so you can drop them off at a donation center the next time you are out and about.
- Take your FIX pile and give yourself a certain amount of time to get those items fixed – 1 week or 1 month. If those items are not fixed by your deadline, get rid of them!
- Take your TRASH pile and toss it. Don’t rescue any items – toss it or recycle it immediately!
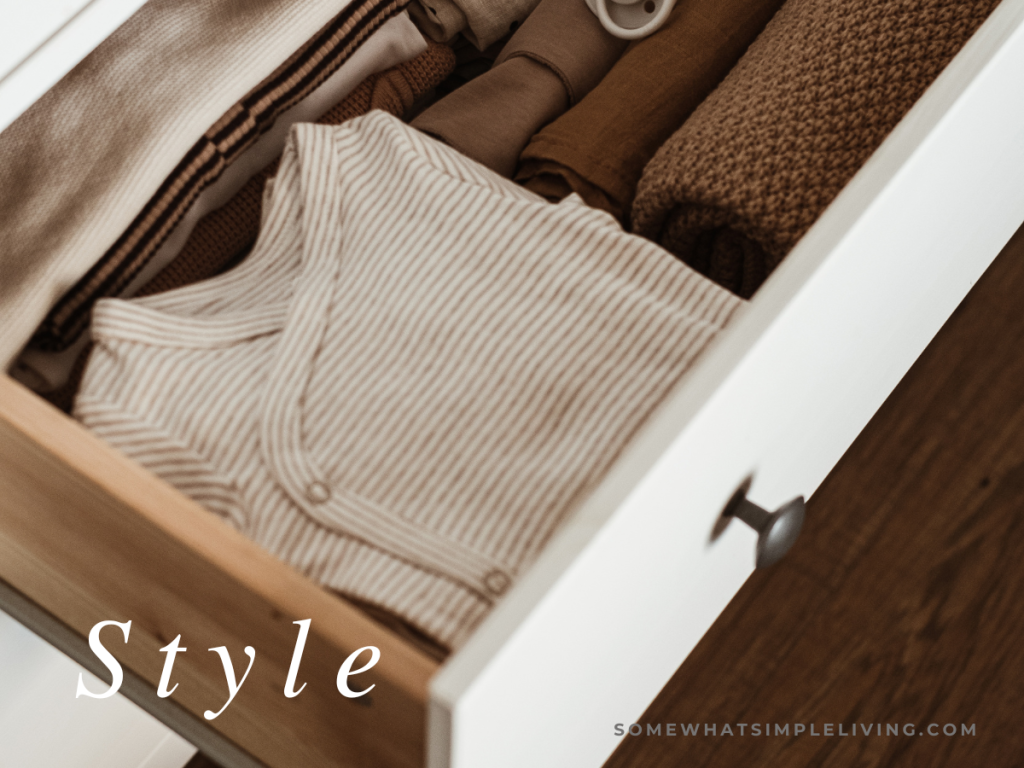
4. Style Your Space
Now it is time to put everything back and make it pretty! Keep like-items together, make labels, add fun design elements etc. Have fun with this! Make it so each time you see this newly organized area you smile. 🙂
Now you know how to organize any space – get to it!!

I totally need to get organized, but it’s gonna be a HUGE project for me!
Baby steps. Maybe one shelf at a time?
I know it can be intimidating. My craft room was a huge undertaking as well… it took me about 6 weeks just doing a little at a time.
Good luck!
I love organizing!!! In fact bins and baskets and trays are my weakness!
I am organizing as we speak and man is it time-consuming!
Doesn’t it feel good to organize! Looks great.
It’s my hubby’s dream for ME to be organized! Maybe THIS will be my year:-)
perfect timing! i’m moving to a new (but smaller) apt. in about 2 weeks and i am stressing a bit about organization.
Ahh! I am totally organize crazy since New Year’s – I filled a garbage bag the other day also 🙂
This is one of the best ways to relieve stress! And, it doesn’t have to all be done at once. It can be done just a little at a time. One shelf at a time, even! But, there is something about seeing that trash bag fill up, having spaces open up on the shelves, and that lovely fresh clean smell that just triggers the serotonin in my brain!
I love all of your organization tips and techniques. I have been rearranging my 12′ x 12′ bedroom/office/art 🎨 studio. As you can imagine it’s a little crowded in here! But I make it work. I have a 2-week large tapestry painting project starting this coming weekend. I needed the final push to reorganize my space. Thank you so very much!
I hope your space turned out amazing! What a fun project!!