Under the Stairs Playroom Organization
This post may contain affiliate links. Read our disclosure policy.
Take a look at how we turned a dark closet under our stairs into a darling playroom for our kids!
Here are a few more ideas for kids we think you’ll enjoy – Girl’s Shared Bedroom, Mess Monster “Toy Jail”, and Creating the Perfect Homework Station.
Creating A Playroom Under The Stairs
Our new home has a pretty awesome rounded staircase, and even before we signed papers to start construction, our kids talked about making the closet underneath it their own little clubhouse! This rounded closet space was one of the first decorating projects I tackled in our home and I am completely in LOVE with how it all turned out!
Here’s how I did it –
Step 1 – Get Rid of Unwanted and Unused Toys
The first step to creating a fun play space for the kids is to purge aaaalllll toys that don’t get used. (This is when you need to separate emotions from logic and donate or sell anything you’re hanging onto that your kids don’t play with.)
Let’s be honest, kids have their favorites and the rest of it either sits in baskets un-touched, or, even worse, it gets scattered among the other toys and just adds to the mess.
I went through our old playroom before we moved and I got rid of a TON! My kids don’t keep toys in their room, so you are looking at literally every toy our family owns – right here, in this closet. Clean up time is such a breeze when every toy belongs in the same place!
Step 2 – Find an Organization System that Works for your Family
I’m a basket and bins kind of girl, but I have several friends who just have 1 or 2 giant toy chests in their playroom and that’s the method they prefer! Whatever your preference is, do it!
These baskets don’t always stay sorted, but I’ll go in an re-organize them every couple of months or so. This method minimizes dumping the baskets in search of their favorite dress up shoes or train set. We usually only have 1-3 baskets out at a time.
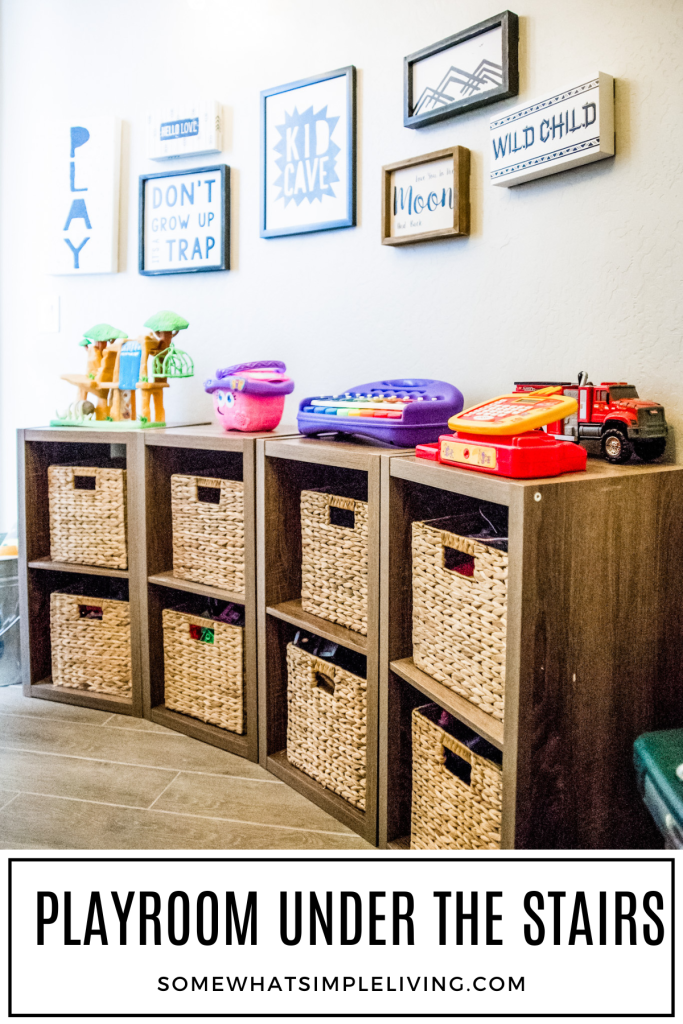
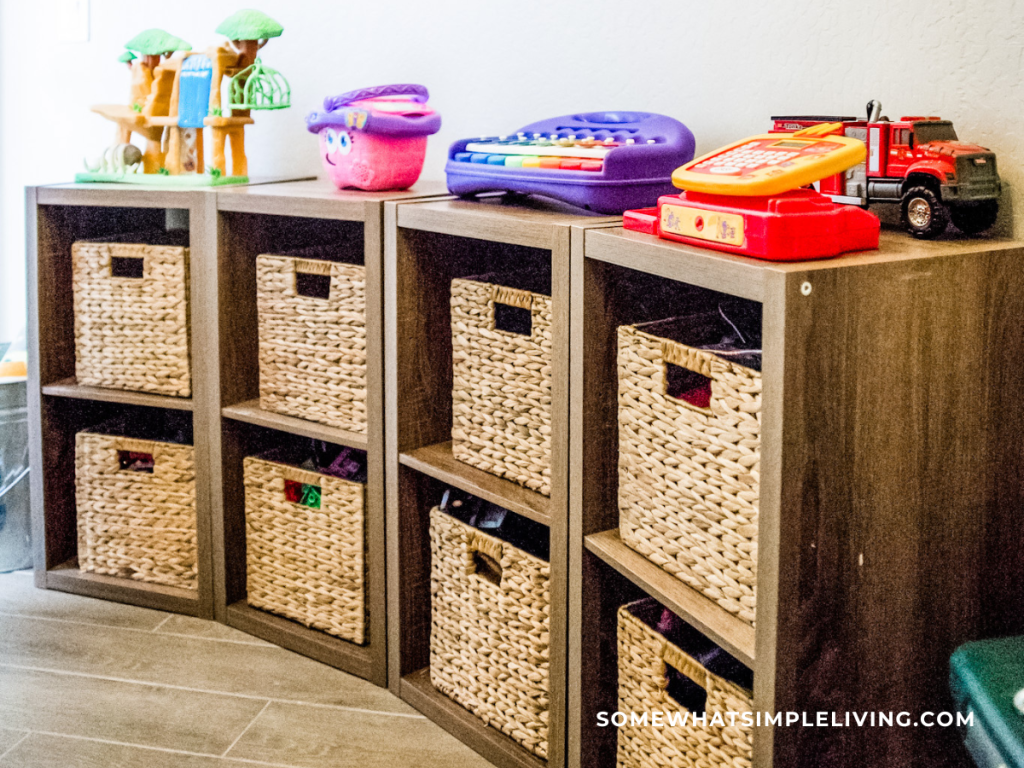
One of the things I loved most about this closet was also the thing that caused the biggest design headache – the rounded walls. A rounded room adds a fun design element, but finding an organization system to hold everything was kind of hard. Having a custom piece of furniture made to fit the curvature of our walls was definitely not in the budget! But I ended up finding these 2-cubby shelves at Target and they are seriously SO perfect! By staggering them along the walls, I was able to maximize the space AND hold all our toys. The shelves are short enough for my kids to reach anything they need and nothing is scattered along the floor.
Step 3 – Place the Toys in a Fun, Useful Way!
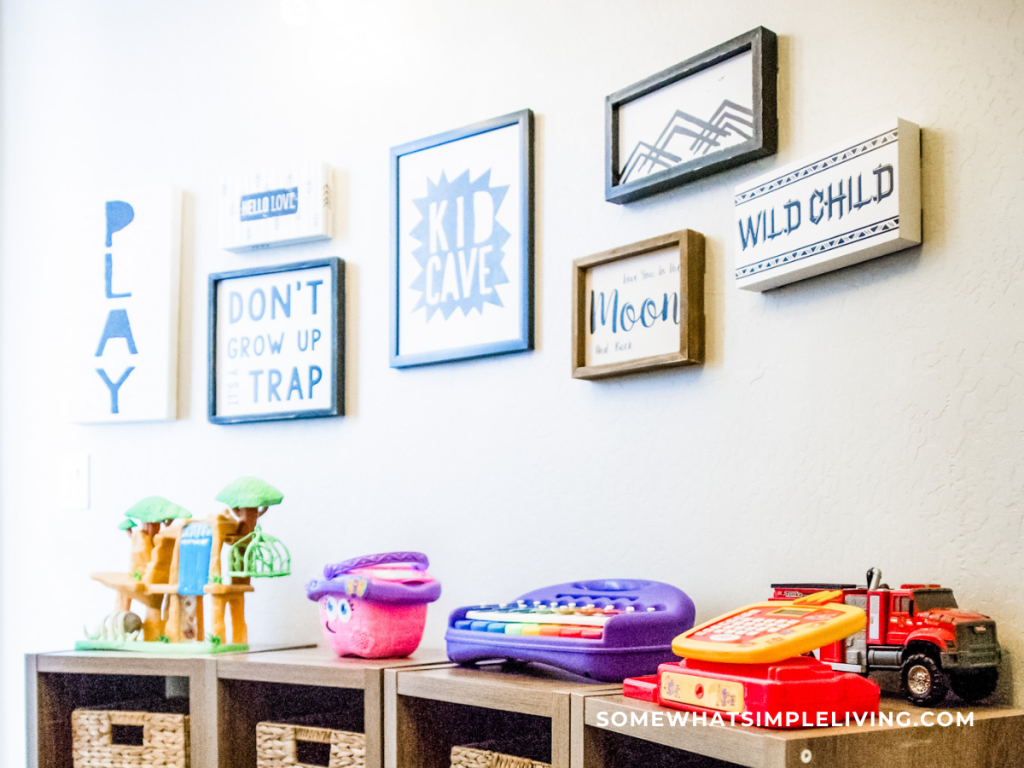
The small toys are organized in baskets. The big toys fit nicely on top of the shelves. The even BIGGER toys line up nicely along the walls.
By setting up the bigger toys along the wall, my kids have space to use them as intended. No need to pull anything out to the family room to set up their play kitchen! It’s all right there and ready to go, right next to the basket of dishes and food!
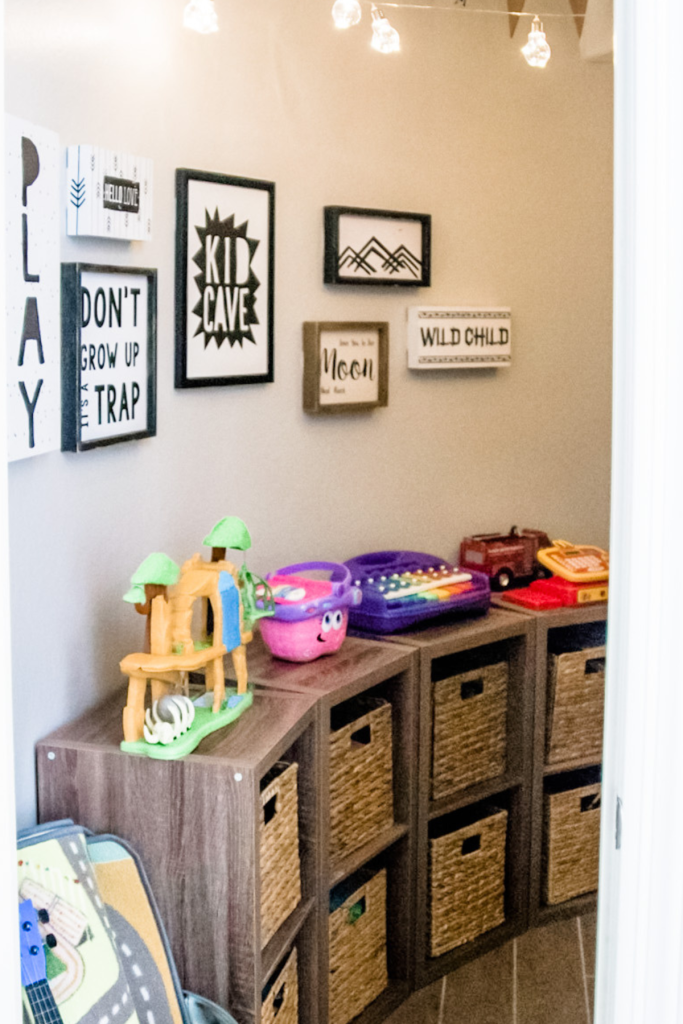
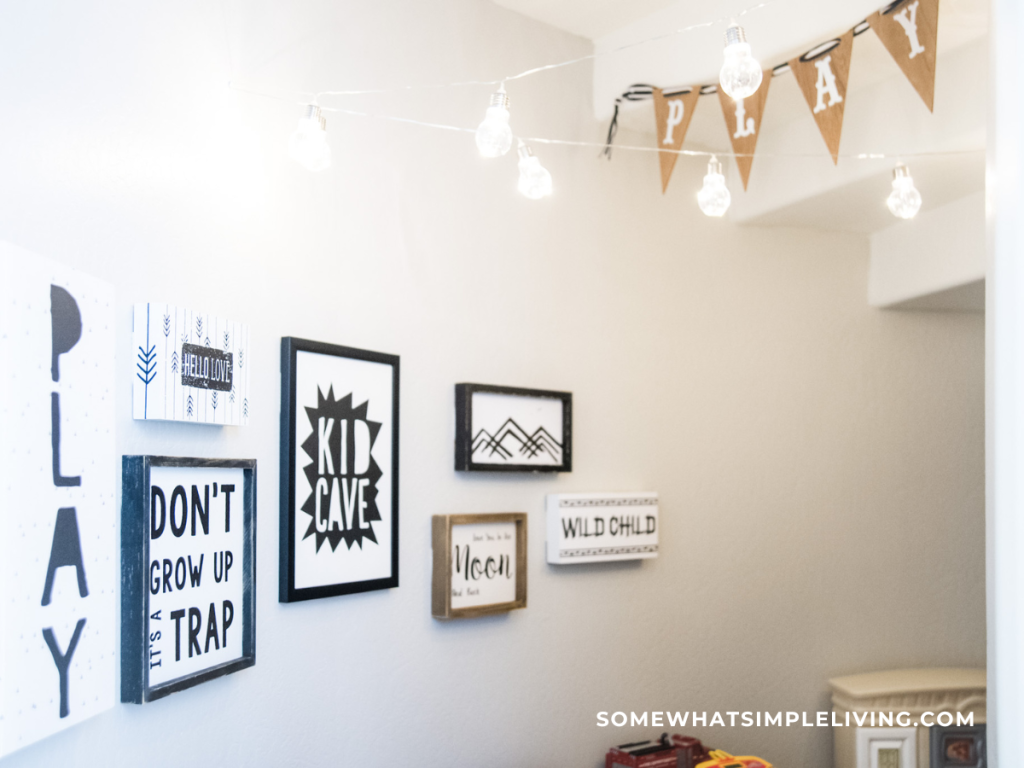
Step 4 – Kid-Friendly Design Elements Make it FUN!
I added some fun wall decor that I love, and finished off the room with some battery-operated hanging lights! This really finished the room and made it such a fun place for the kids to play! Those lights = magical! (Definitely my favorite part of the room!)